Decals are versatile designs for decoration and branding, offering a durable way to enhance surfaces. This guide provides step-by-step instructions for applying decals smoothly and effectively on various materials.
1.1 What Are Decals and Their Uses
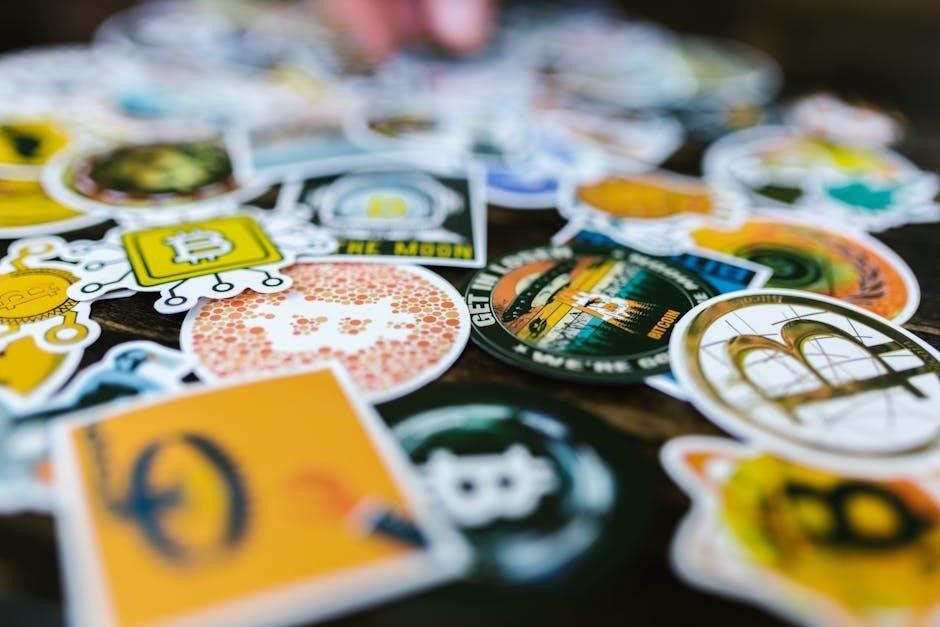
Decals are adhesive-backed vinyl designs used for decoration, branding, and identification. They are commonly applied to vehicles, windows, and other smooth surfaces. Made from durable materials, decals are weather-resistant and long-lasting. Their uses include personalizing items, promoting businesses, and adding aesthetic appeal. Decals are popular for their versatility and ease of application, making them a great way to enhance various surfaces without permanent damage. They come in custom designs, from simple text to intricate graphics, catering to diverse needs and preferences.
Preparing the Surface for Decal Application
Thoroughly clean the surface with mild soap and water to remove dirt, oils, or residue. Avoid harsh chemicals that may damage the surface or affect adhesion. A clean surface ensures proper decal bonding and a professional appearance. Allow the surface to dry completely before proceeding;
2.1 Cleaning the Surface
Cleaning the surface is crucial for proper decal adhesion. Use mild soap and warm water to remove dirt, oils, or residue. Avoid harsh chemicals or abrasive cleaners that could damage the material or leave residue. For glass or smooth surfaces, a damp cloth may suffice. Dry the surface thoroughly with a lint-free cloth or let it air dry. Ensure no streaks or moisture remain, as this can interfere with the decal’s bonding. A clean, dry surface ensures optimal adhesion and prevents air bubbles or peeling. Proper preparation is key to a successful decal application.
2.2 Ensuring the Surface is Dry and Free of Residue
After cleaning, ensure the surface is completely dry and free of residue. Avoid using glass cleaners, as they may leave streaks or chemicals that interfere with adhesion. Use a lint-free cloth or let the surface air dry to prevent moisture spots. If residue remains, lightly wipe it away with a clean, damp cloth and dry thoroughly. For smooth surfaces like glass or metal, inspect for any remaining streaks or dust particles. A dry, residue-free surface ensures proper decal adhesion and prevents peeling or air bubbles. Allow the surface to sit for a few minutes after cleaning to ensure it is fully prepared.
Tools and Materials Needed for Decal Application
Essential tools include a squeegee, scissors, and masking tape. Optional tools like a heat gun, application fluid, and credit card can also be useful.
3.1 Essential Tools: Squeegee, Scissors, and Masking Tape
A squeegee is crucial for applying even pressure and removing air bubbles during decal application. Scissors are necessary for cutting the decal to the desired size. Masking tape helps align and secure the decal temporarily. These tools ensure proper positioning and a smooth application process, making them indispensable for achieving professional results. Always use high-quality tools to prevent damage to the decal or surface. Proper use of these tools will help you achieve a flawless finish and extend the decal’s lifespan. They are the foundation of a successful decal application.
3.2 Optional Tools: Heat Gun, Application Fluid, and Credit Card
A heat gun can be used to soften the adhesive for easier application on curved or uneven surfaces. Application fluid helps position the decal precisely, allowing adjustments before final adhesion. A credit card is a practical alternative to a squeegee for pressing out air bubbles. While these tools are not essential, they enhance the application process, especially for intricate designs or large decals. Using a heat gun requires caution to avoid overheating, and application fluid should be applied sparingly to prevent residue buildup. These optional tools can significantly improve the final result when used correctly.
Step-by-Step Decal Application Process
Start with a clean, dry surface, position the decal, remove the backing, apply using a squeegee or credit card, and smooth out air bubbles for a professional finish.
4.1 Positioning the Decal on the Surface
Positioning the decal correctly is crucial for a professional finish. Use masking tape to temporarily secure the decal’s top edge to the surface, acting as a hinge. Measure the surface and mark the center point to ensure alignment. For larger decals, divide the surface into sections to simplify placement. Use a level to confirm straightness and adjust as needed. Once satisfied with the placement, gently press the decal onto the surface, starting from the center and smoothing outward. This step ensures accuracy and prevents air bubbles or misalignment.
4.2 Removing the Backing Paper
After positioning, carefully remove the backing paper while ensuring the decal stays in place. Start by peeling the paper slowly from one edge, using a hinge created with masking tape. Apply gentle pressure with a squeegee or credit card to secure the decal as you peel. For larger decals, work from the center outward to prevent air bubbles. Align the decal precisely, using a level if needed, and smooth it onto the surface. Avoid stretching the vinyl, as this can damage the decal. This step requires patience to ensure proper adhesion and alignment for a professional finish.
4.3 Applying the Decal Using a Squeegee or Credit Card
Once the backing paper is removed, use a squeegee or a credit card to apply the decal firmly to the surface. Start in the center and work outward in a zig-zag pattern, applying moderate pressure to ensure proper adhesion. For larger decals, this method helps eliminate air bubbles and ensures even contact. If using a credit card, press firmly but avoid excessive force to prevent stretching the vinyl. After applying, remove the transfer tape slowly at a 180-degree angle to ensure the decal adheres properly to the surface. This step is crucial for achieving a smooth, bubble-free finish.
4.4 Removing Air Bubbles and Smoothing the Decal
After applying the decal, inspect it for air bubbles. Use a squeegee or credit card to gently press out bubbles, starting from the center and working outward. For stubborn bubbles, apply heat with a hair dryer or heat gun to soften the vinyl, then press firmly. Small bubbles can be pierced with a needle and smoothed out. Avoid using harsh chemicals, as they may damage the decal or surface. Ensure the decal is completely smooth and adhered properly before final sealing. This step ensures a professional-looking finish and prevents peeling over time.
4;5 Final Sealing of the Decal
Once the decal is applied and air bubbles are removed, ensure it is firmly pressed onto the surface. Use a heat gun or hair dryer to gently heat the decal, enhancing adhesion. Apply even pressure with a squeegee or credit card, focusing on edges and corners. For optimal durability, some surfaces may require a clear sealant. Avoid harsh chemicals, as they can damage the decal. Proper sealing ensures longevity and prevents peeling, especially on exposed surfaces like vehicles or outdoor areas. This final step guarantees a professional finish and protects the decal from environmental factors.
Best Practices for Different Surfaces
For optimal results, tailor decal application to surface types. Smooth, non-porous surfaces like glass and metal work best, while rough or porous surfaces are not recommended. Use a heat gun for challenging textures, but avoid harsh chemicals to preserve decal durability.
5.1 Applying Decals on Glass, Metal, and Smooth Surfaces
For optimal results, ensure the surface is clean, dry, and free of residue. Use a mild detergent and water to clean, avoiding glass cleaners that leave residue. Dry thoroughly with a lint-free cloth. Position the decal using masking tape to align it correctly, then slowly remove the backing paper at a 180-degree angle. Apply the decal with a squeegee or credit card, starting from one side and moving in a zigzag pattern to avoid air bubbles. Use a needle or pin to remove any air bubbles, pressing them out with the squeegee. Ensure the decal is firmly pressed for good adhesion and proper sealing.
5.2 Avoiding Porous or Rough Surfaces
Decals adhere best to smooth, non-porous surfaces like glass, metal, and painted drywall. Avoid applying them to porous or rough surfaces such as brick, wood, or fabric, as the adhesive may not hold well. These surfaces can cause the decal to peel or bubble due to poor adhesion. For optimal results, ensure the surface is clean, dry, and free of residue before application. This ensures a professional finish and extends the decal’s lifespan.
Common Mistakes to Avoid During Application
Common mistakes include incorrect positioning, insufficient pressure, and uneven heating, which can lead to air bubbles, peeling, or damage to the surface or decal.
6.1 Incorrect Positioning and Alignment
Incorrect positioning and alignment are common mistakes that can ruin the decal’s appearance. To avoid this, measure the surface and mark the center point. Use masking tape to temporarily secure the decal’s top edge, ensuring it is level. Double-check alignment before removing the backing paper. If the decal is not centered or straight, it will look unprofessional. For large decals, cut them into sections or use a hinge method to align properly. Always test the positioning by peeling back a small part of the backing before full application. Patience and careful planning are key to achieving precise placement.
6.2 Insufficient Pressure When Applying the Decal
Insufficient pressure during decal application is a frequent error, leading to air bubbles and weak adhesion. To avoid this, use a squeegee or credit card to press firmly across the decal, starting from the center and moving outward. Apply even, consistent pressure to ensure the vinyl adheres properly to the surface. For large decals, work in sections to maintain control. If bubbles appear, gently prick them with a needle and smooth the area. Proper pressure ensures a professional finish and prevents the decal from peeling prematurely. Always test the pressure on a small area first to avoid damaging the decal material.

Maintaining and Caring for Applied Decals
Regularly clean decals with mild detergents and avoid harsh chemicals. Protect from extreme temperatures and UV exposure to ensure longevity and maintain their vibrant appearance effectively.
7.1 Cleaning and Protecting the Decal
To maintain your decal’s appearance, clean it regularly with a soft cloth and mild soap solution. Avoid harsh chemicals or abrasive materials that may damage the vinyl. For outdoor decals, apply a UV-protective clear coat to prevent fading. Regularly inspect for dirt or debris and clean gently to prevent buildup. Avoid high-pressure washes, as they can loosen the adhesive. For decals on vehicles, avoid parking in direct sunlight for extended periods. Proper care ensures your decal remains vibrant and intact for years, whether indoors or outdoors.
7.2 Avoiding Extreme Temperatures and Harsh Chemicals
To prolong the life of your decal, avoid exposing it to extreme temperatures, such as direct sunlight for prolonged periods or freezing conditions. High heat can cause the adhesive to weaken or the vinyl to fade, while freezing temperatures may make the decal brittle. Additionally, refrain from using harsh chemicals like bleach, acetone, or abrasive cleaners, as they can damage the vinyl or degrade the adhesive. Instead, clean gently with mild soap and water. Avoid high-pressure washes, as they may dislodge the decal. Protecting your decal from these elements ensures long-lasting durability and vibrant appearance.
Removing Old or Damaged Decals
Use a heat gun or hair dryer to soften the adhesive. Gently peel the decal from one corner at a 180-degree angle. For stubborn residue, apply adhesive remover.
8.1 Using Heat and Adhesive Removers
Begin by heating the decal with a heat gun or hair dryer to soften the adhesive. This reduces the risk of tearing the decal or damaging the surface. Once heated, gently peel the decal from one corner, working slowly to avoid ripping. For residue, apply an adhesive remover, letting it sit before wiping clean with a soft cloth. This method ensures a smooth removal process without harming the underlying surface.
8.2 Peeling the Decal Gently to Avoid Surface Damage
When removing old or damaged decals, gently peel them at a 180-degree angle to prevent surface damage. Start from one corner and work slowly to ensure the decal comes off evenly. If the decal resists, use a plastic scraper to lift edges without scratching the surface. Avoid using sharp tools, as they may harm the material. For stubborn residue, apply a small amount of adhesive remover and wipe clean with a soft cloth. This method ensures the surface remains intact and residue-free after decal removal.